 Ok so unless you’ve never scrolled through your Instagram explore page or spent hours avoiding life’s responsibilities watching makeup tutorials then you’d know, highlighting is in! Personally this is brilliant news for me, I’m not ashamed to say that I love a bit of sparkle, I mean what’s not better with a bit of shimmer? Nothing, and now that includes your face too (woop woop!). So as someone who's tried about every highlighter, illuminator and glitter out there I thought, why not give you guys some inspiration into some of the best products and techniques I found work for me, hope this helps!
STEP ONE: In the words of Megan Trainer, it’s all about that base, I mean I don't think a banging moisturiser was the point of that song but still… I found a really easy little trick to give yourself glowing skin is to use a moisturiser with the label ‘Radiance cream’ which means it has tiny little glitter particles in it, so even if you’re having a no makeup day you can still shine bright like a diamond (it’s getting like karaoke now). Since I have sensitive skin I always lean towards the ‘Simple’ range, such as this ‘Kind to skin + illuminating radiance cream’.

STEP TWO: Illuminators are literally the best thing ever, it’s now socially acceptable to just put shimmer all over your face, ALL OVER! It may sound totally over the top and a bit like face paint BUT trust me, the more shimmery your base is the better, since after you've thrown on all your usual powders, concealers and blushes etc you can hardly see the shine you initially created, so the more you can slap on to start with the better. I’ve recently discovered this Mac Strobing cream, a soft white colour which I’m loving and would DEFO recommend.

STEP THREE: I once asked my eye bags, Regina George style ‘why are so obsessed with me?’ Turns out they just love spending time on my face so thank God Instagram taught us how to properly highlight and conceal, you don't just smear a line of cream concealer over those bad boys like back in the day, now we know liquid, highlighting concealers are the shizz and to properly use them we paint right down the cheeks and across the nose, forehead and chin, meaning that everything actually blends together and doesn't look like we’ve just smeared orange paint under our lashes. For the summer months I love using YSL Touche Eclat and remember to blend, use a damp beauty blender with dabbing motions not swiping ones.

STEP FOUR: Now the fun begins, we HIGHLIGHT! I find if you begin the process with a cream highlighter then everything else sticks to it like glue. Draw lines of fabulousness across the top of your cheekbones, down the nose and on the chin, since erm who doesn't want a glitzy chin?? My fave is Benefit’s Watts Up, which is so easy to use and they even give you a little blender on the other end of the stick, so kind.
STEP FIVE: Feel free to ignore this step, but I find that in summer adding a few drops of golden liquid highlight across your cheek bones just gives you an extra bronzy sheen. Again no one does highlighters like Benefit and ‘Sun Beam’ is just perfect while the weather’s nice.
STEP SIX: Ok I know, I know, this is alotta shimmer but the powder just sets all of the hard work we’ve just done, and do you want to be out on the town with cheekbones which are brighter than my future or do you want to loose your shine and sit there all sad? Exactly. So grab some powdered highlight (personal favourite is Mac soft and gentle) and brush in all of the usual places, cheekbones, nose, cupids bow with a light swiping motion and BOOM you’re set.
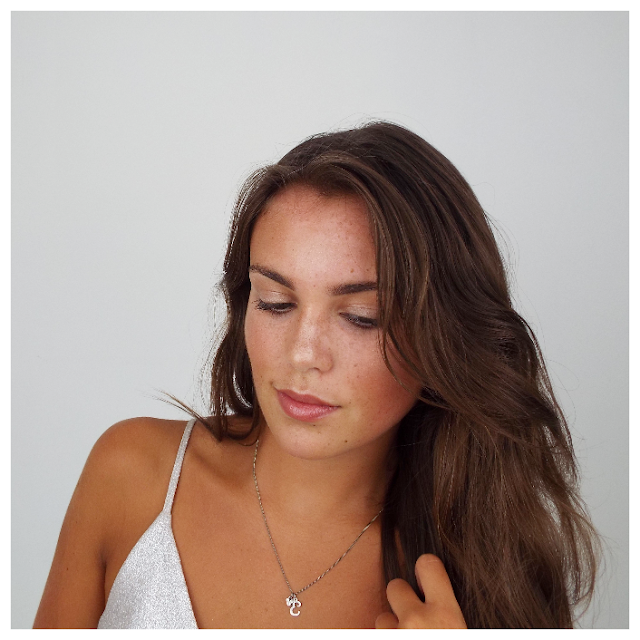
So there you have it, glowy, summer fresh look, now feel free to hashag #highlightonfleek the night away!


