How To Stack And Ice A Birthday Cake

Leave a Comment

You will need:
3 layers of cake (see vanilla cupcake tutorial for recipe)
Jam of your choice
Frosting (can make your own or use tubs if you're lazy like me)
Fondant
Icing sugar


STEP ONE:
Trim the top off each layer of cake, ensuring that they are even

STEP TWO:
Use a palate knife to spread a small amount of frosting onto a cake board to ensure that the cake sticks


STEP THREE:
After placing the cake top down onto the board, use a spatular to spread jam evenly on top of the sponge, after doing so place the next cake (top down again) above this and repeat spreading the jam, 
finally place the final cake on the stack (top down)


STEP FOUR:
Hack away at that bad boy! Just get a bread knife and go ham on it! JK, use the knife to trim the edges away from the cake, ensuring that you end up with an even circle (this DOES NOT have to look pretty, 
it's all going to be covered up soon) (Kinda like my poor excuse of a summer bod waiting for Autumn jumpers)

STEP FIVE:
Once you're pleased the cake is (somewhat) even, use the palate knife to start spreading a WHOLE LOTTA frosting over the entire thing, trying to keep distribution even(ISH). Again this does not have to look pretty the fondant will cover the ugliness, the frosting is purely to help the icing stick and make sure 
it goes on as smoothly as possible. Leave the cake with the crumb coat spread over it (layer of frosting) in the fridge for at least 1 hour


STEP SIX: 
Take the cake out of the fridge, sprinkle and spread some icing sugar over a large surface and roll out your fondant, do this carefully so you don't rip it or create cracks, to ensure you have enough, use a 
ruler to measure the sides and top of the cake, the combined number plus around 2-3cm should be the size of your fondant circle


STEP SEVEN:
Carefully lift the icing onto the cake and working quickly but carefully use your hands to smooth the fondant onto the cake, use a knife or pizza slice to remove excess from the bottom

STEP EIGHT: 
Use a fondant smoother (optional but recommended) to buff away any lumps n bumps (can I get one of those for my summer bod!?)


STEP NINE:
Cut ribbon to place around the rim and then decorate to your heart's content and EAT (can you guess the occasion for my cake! :D) Enjoy lovelies xxx


SHARE:
0 comments

How To Make The Jazziest Milkshakes You'll Ever Find

Leave a Comment
This super quick and simple idea is perfect for kids parties! When girls get to that awkward phase where Jelly and Ice cream just doesn't make the cut (I'm still waiting for that to happen to me) but Champagne itself is damn right illegal then these cute and classy milkshakes will be something fab and different to impress their friends. (Plus they make for a pretty good photo) Hope you all enjoy!

What you'll need:

6 table spoons of Strawberry milkshake mix
400ml of full fat milk
6 squares of white chocolate 
100's and 1000's (sprinkles)
Edible glitter
Straws
Champagne glasses

(makes 2 milkshakes)

STEP ONE:
Break 6 squares of white chocolate into a bowl and melt in a microwave for about 40 seconds or until smooth


STEP TWO: 
Pour the sprinkles onto a plate and keep near the bowl of melted chocolate

STEP THREE:
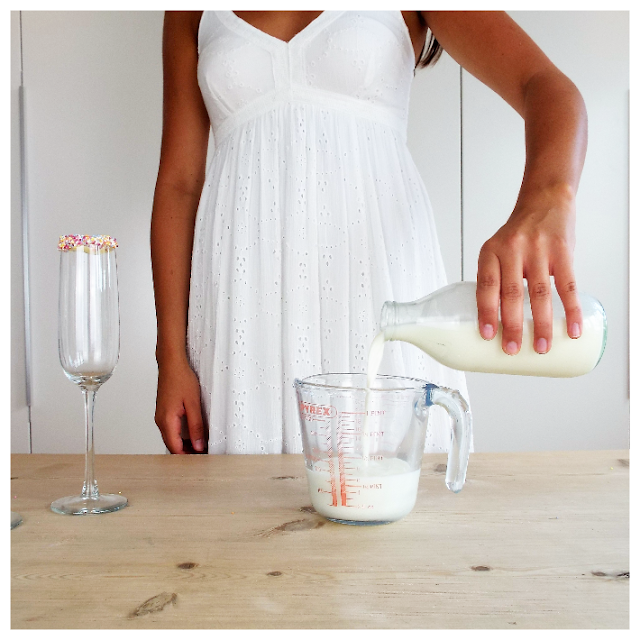
Dip the champagne glass rim into the melted chocolate then immediately dip into the plate of sprinkles, you may have to roll the glass in the sprinkles as well as dipping it

STEP FOUR:
Pour 400ml of full fat milk into a measuring jug, mix in 6 tablespoons of strawberry milkshake mix then stir well

STEP FIVE:

Pour the mixture into the glasses until it reaches the top then sprinkle some edible glitter over the top (YASSSSSS) Place some pretty straws in the milkshakes and ENJOY


SHARE:
0 comments

How To Make Frozé (Yup Rosé Slushies- You're Welcome)

Leave a Comment
Rosé? Fabulous, so classy and ladylike, but, I mean well behaved women never make history. So if you're looking to jazz up your usual girlie nights in then grab your Queens, grab the Ben and Jerry's and make yourself some Frozen Rosé following these simple steps.

INGREDIENTS:                                          
100ml Rosé wine
100ml Tonic water
100g Strawberries


STEP ONE:
Pour 50ml of Rosé wine into a cocktail shaker, followed by 100ml of Tonic water


STEP TWO:
Since no one here is James Bond (I think) then we need the wine mixture to be stirred not shaken, just lightly swirl the mixture around being careful not to go too crazy and cause the fizz to explode everywhere (learned that one the hard way)


STEP THREE:
Transfer the liquid into a measuring jug (or something easily pourable) and pour the Wine mixture into individual ice cube moulds. Put into the freezer for at least 1 hour


STEP FOUR:While the Rosé is becoming Frozé cut up around 100g of fresh strawberries, depending on how sweet you like your cocktails


STEP FIVE:
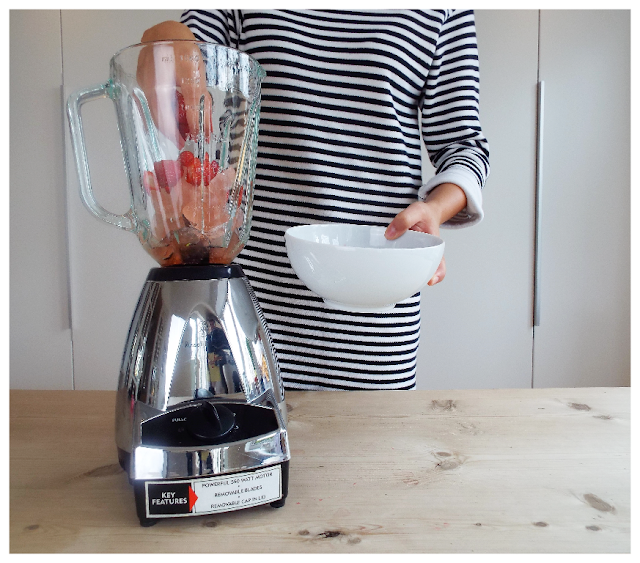
Once you have solid ice cubes, put them, along with the strawberries and an additional 50ml of liquid Rosé into a blender


STEP SIX:
WHIZZ THAT BAD BOY! A few seconds is enough to combine everything together


STEP SEVEN:
Pour back into a container and store in fridge until ready to serve


STEP EIGHT:
Put some strawberries on the side of your chosen cocktail glass, serve and enjoy those babies!


SHARE:
0 comments

3 Ways To Wear A Cami Dress On The Streets

1 comment
A Cami dress, for those of you that don’t know is basically the best thing ever. That’s all you need to know. Some designer genius decided to bring back into 2016 the 1920’s style dress which is loose fitting and flattering for all body types. It’s a dress that says ‘yeah I will have garlic bread on the side’ and ‘yup I can wear my cute, comfortable Victoria Secret underwear and not the Bridget Jones knickers going practically up to your chin to hold everything in’. The good news continues, if you don't have fabulous big boobs IT DOESN’T MATTER! These dresses are happy to ignore that and still make you look cute - so to round things up a Cami dress is your best friend. If you don’t have one yet, don’t worry, there’s PLENTY to choose from and they can easily be styled for the day or night. Here are my three favourite variations to be worn on the streets, happy Cami’ing’ lovelies!

Cami One: The Print
Since it’s summer, the law states that we should be wearing a bold print at least once a week, rules are rules I suppose. Since these dresses are such a simple style it’s a super easy and safe option to rock a print during the day time. 

SHOP: TOPSHOP 


Cami Two: The LBD 
Since the dawn of time women discovered the wonder of the ‘little black dress’. It’s chic, stylish and fabulous in every way, not to mention nothing is easier to accessorise. This particular Cami was the first one I bought and the love affair began, I’ve worn this to lunch with sandals , to the cinema with espadrilles to the club with heels. If I were stuck on a desert island, sod the survival kit I’d bring this (and my highlighter)((s)). If you’re new to the Cami hype the LBD is a perfect place to start.  
SHOP: TOPSHOP

Cami Three: Metallic Mermaid Moment
I am completely, head over heels in love with this dress. If you’ve read any of my other posts you’d know I have an obsession with Mermaids and if I am forced to walk the earth with other human beings then I’m going to do everything I can to bring some mermaid magic to the streets of London. Anything with a bit of gold and silver sparkle makes me feel like I’m living my dream and this dress is just EVERYTHING I could want. If you fancy bringing a bit of shimmer to your wardrobe but don’t want to end up going to lunch in a body con sequinned gown then the Cami dress is once again the perfect match.


SHOP: OASIS 

SHARE:
1 comments
Next PostNewer Posts Previous PostOlder Posts Home
BLOG TEMPLATE CREATED BY pipdig